New Delhi


How to Change Your Car's Flat Tyre in 7 Simple Steps
A flat tyre can disrupt your journey, but knowing how to replace it can help you get back on the road without waiting for roadside assistance. Here are seven simple steps to change your car's flat tyre.

Updated Nov 16, 2026, 02:47 PM IST
How to Change Your Car's Flat Tyre in 7 Simple Steps
A flat tyre can leave you stranded in the middle of a journey, particularly when you are travelling on an unfamiliar road or in an area with limited access to roadside assistance. While calling for professional help is always an option, knowing how to replace a flat tyre with a spare wheel can help you handle such situations independently.
Changing a car tyre is not particularly complicated if you have the right tools and follow the correct procedure. However, safety should remain the priority, as working around a vehicle parked close to moving traffic or using a car jack incorrectly can lead to accidents.
Most cars equipped with a spare wheel come with a jack and a wheel wrench to help replace a damaged tyre. Here is a step-by-step guide to changing your car's flat tyre.
1. Find A Safe Place To Park Your Car
The first and most important step is to move your car to a safe location. If you notice a flat tyre while driving, avoid sudden braking or sharp steering movements. Reduce your speed gradually and look for a flat, stable surface away from moving traffic.A roadside parking area or a sufficiently wide shoulder can be suitable, provided there is enough room to work around the vehicle safely. Avoid stopping on slopes, soft ground, sharp bends or narrow stretches of road.
Once you have parked, switch on the hazard warning lights to alert other motorists. If you are on a busy highway and cannot find a safe place to change the tyre, contact roadside assistance instead of attempting the repair yourself.
2. Secure The Vehicle And Collect The Necessary Tools
After parking, switch off the engine and engage the parking brake. If your car has a manual transmission, leave it in first gear or reverse. For an automatic transmission, select Park (P).If available, place wheel chocks or sturdy wedges around the wheel diagonally opposite the flat tyre to prevent the vehicle from rolling. Ask passengers to step out and wait at a safe distance away from traffic.
Next, collect the equipment required to replace the tyre. These generally include:
- Spare tyre with adequate air pressure.
- Car jack.
- Wheel wrench or wheel brace.
- Wheel lock key, if your car has locking wheel nuts.
- Owner's manual for locating the correct jacking points.
In most cars, these tools and the spare wheel are stored under the boot floor or in a dedicated compartment. Check the spare tyre for visible damage and ensure it has sufficient air pressure before proceeding.
3. Loosen The Wheel Nuts
Before lifting the vehicle, remove the wheel cover or hubcap, if fitted, to access the wheel nuts.Use the wheel wrench to loosen the nuts by turning them anticlockwise. Loosen each nut by approximately one turn, but do not remove them completely at this stage.
This is important because the weight of the vehicle keeps the wheel stationary, making it easier to loosen tightly secured nuts. Attempting to loosen them after raising the car could cause the vehicle to become unstable on the jack.
If the nuts are particularly tight, apply controlled pressure using the wheel wrench. Avoid sudden movements that could cause you to lose balance or disturb the vehicle.
4. Position The Jack And Raise The Car
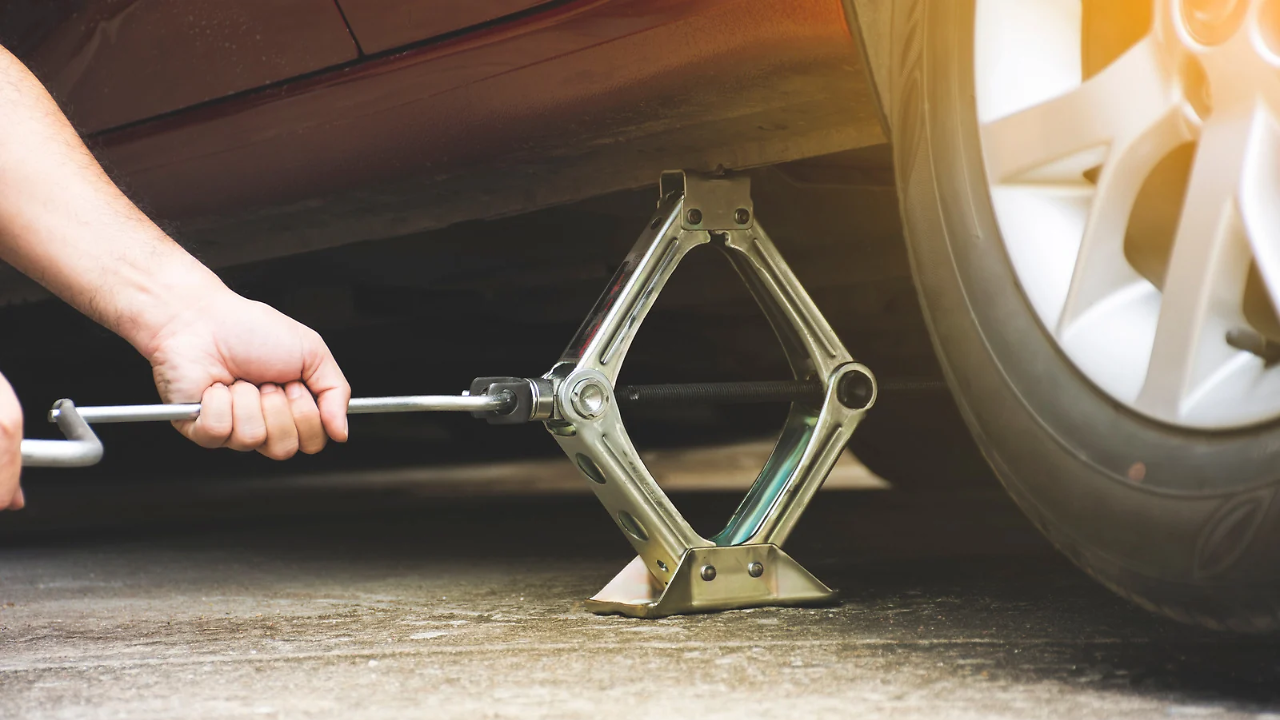
Once the wheel nuts have been loosened, locate the designated jacking point closest to the flat tyre. Your car's owner's manual will show the correct position, which is generally marked along the vehicle's underside near the wheels.Position the jack on firm, level ground and ensure it is properly aligned with the designated jacking point. Using the wrong position can damage the vehicle's underbody or cause the car to slip.
Operate the jack slowly until the flat tyre is lifted a few centimetres above the ground. There should be enough clearance to remove the damaged wheel and fit the spare tyre.
Important: Never place your hands, legs or any other part of your body underneath a vehicle supported only by a jack. If the ground is unstable or the jack starts shifting, stop immediately.
5. Remove The Flat Tyre
With the vehicle safely raised, completely remove the loosened wheel nuts. Keep them together in a secure place so that none of them get lost.Hold the flat tyre firmly from its sides and pull it towards yourself to detach it from the wheel hub. Tyres can be heavy, particularly those fitted to SUVs, so take care while lifting them.
Once removed, place the damaged wheel flat on the ground, preferably away from the working area. This will prevent it from rolling away and keep the space around the vehicle clear.
6. Fit The Spare Tyre
Take the spare wheel and align its holes with the wheel studs or mounting points on the hub. Carefully push it into position until it sits properly against the hub.Reinstall the wheel nuts and tighten them by hand initially. Once all the nuts are in place, use the wheel wrench to tighten them slightly in a diagonal or criss-cross pattern. This helps distribute the pressure evenly across the wheel.
Do not fully tighten the nuts while the vehicle is still raised. The final tightening should be carried out once the car is back on the ground.
Also, make sure the spare wheel is seated correctly before proceeding to the next step.
7. Lower The Car And Tighten The Wheel Nuts
Once the spare tyre has been fitted, slowly lower the vehicle using the jack. When the tyre makes contact with the ground and the vehicle's weight rests on it, remove the jack completely.Use the wheel wrench to tighten the wheel nuts firmly in a diagonal sequence. Ensure that all the nuts are secured properly. Ideally, use a torque wrench to tighten them to the manufacturer's recommended torque specification.
Once the replacement is complete, put the jack, wheel wrench and damaged tyre back in the boot. Check the spare tyre's pressure and ensure that it is suitable for use.
If your car uses a temporary space-saver spare, follow the speed and distance restrictions specified by the manufacturer. Get the damaged tyre inspected and repaired or replaced at the earliest opportunity.
Things To Remember After Changing A Flat Tyre
Replacing a flat tyre does not mean that the job is completely over. There are a few precautions you should follow before resuming your journey:- Check tyre pressure: Ensure the spare wheel has the recommended air pressure.
- Follow speed restrictions: Temporary spare tyres often have lower speed limits than regular tyres. Follow the instructions printed on the tyre and in the owner's manual.
- Get the damaged tyre inspected: Visit a tyre shop to determine whether the punctured tyre can be repaired or needs replacement.
- Check wheel nuts: Have the wheel nuts checked and tightened to the manufacturer's recommended torque.
- Avoid unnecessary driving: A temporary spare is intended for emergency use and should not be treated as a permanent replacement.
Note:
Knowing how to change a flat tyre is a useful skill for every car owner. While the process involves a few basic steps, using the correct equipment and following safety precautions are essential.It is also advisable to check your spare tyre's pressure periodically and familiarise yourself with the location of the jack and wheel wrench before setting out on a long journey. These small preparations can make a difference when you encounter a flat tyre on the road.
Log in to post a comment.
End of Article
Trending

Denza D9 vs MG M9 Spec Comparison: What’s Different?

Which Are the Best Diesel Cars in India Under Rs 20 Lakh?

Which Are the Best Bikes for Tall Riders in India?

Which Are the Best Bikes for Women Riders in India

Which Are the Cheapest Cars with ADAS in India Under Rs 20 Lakh?

Which Cars Under Rs 10 Lakh Come with 6 Airbags as Standard?

Which Are the Best Hybrid Cars in India?
Popular





STAY UPDATED Get the latest news from Times Drive